

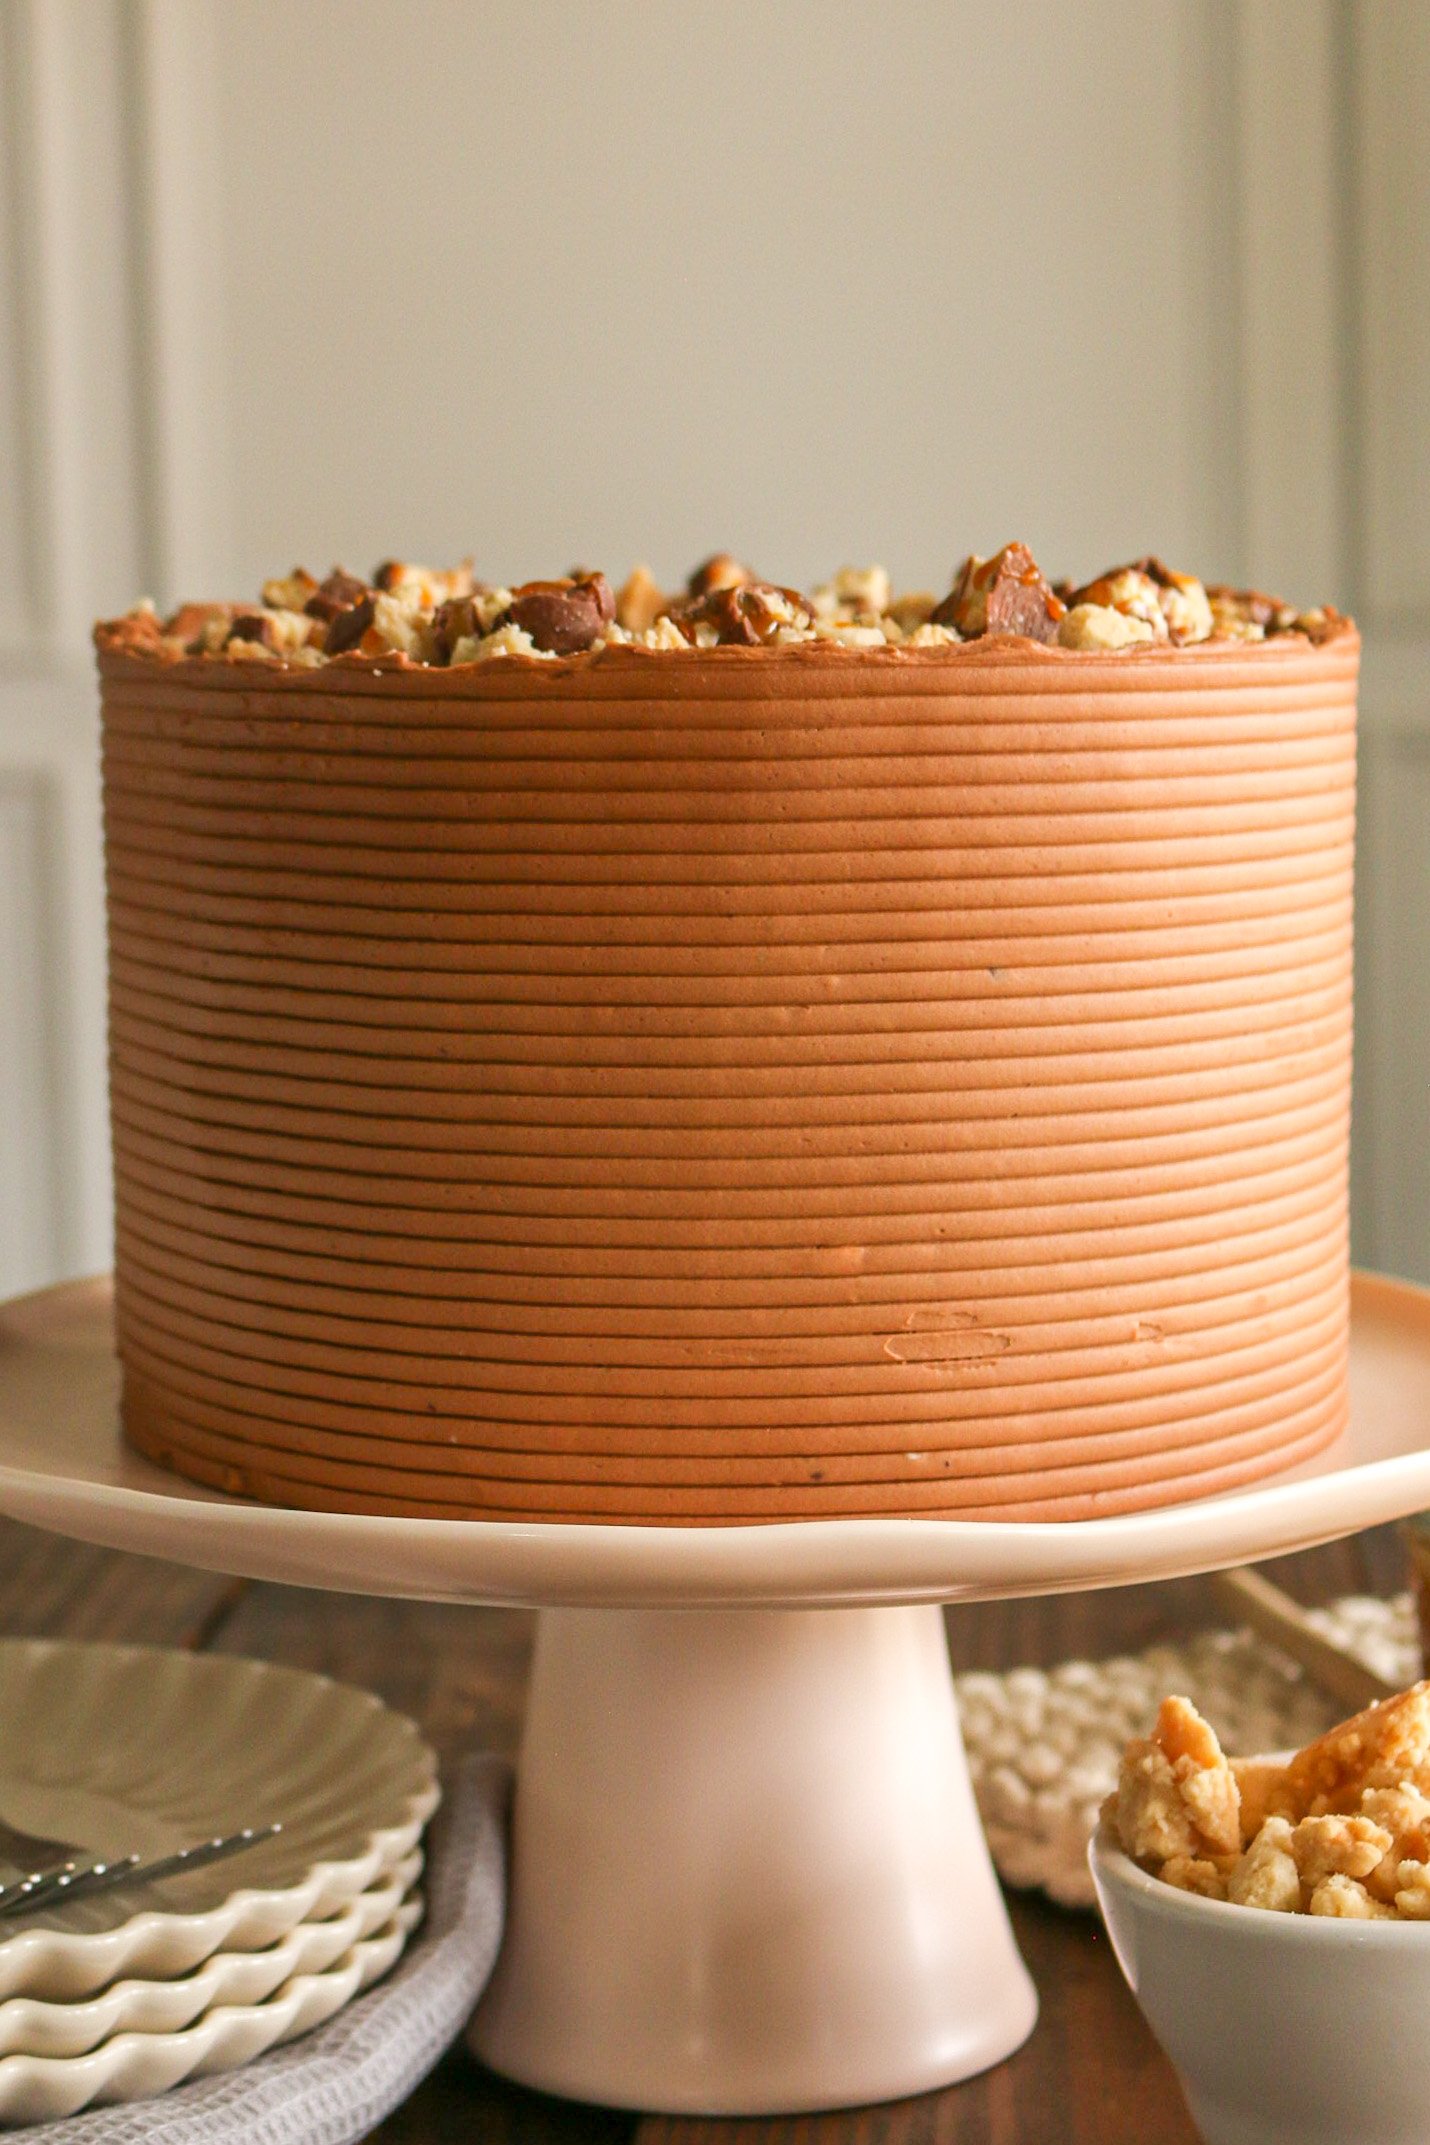
Twix Cake
Road Tripping Inspiration
If you’re at a gas station on a road trip to Texas, browsing the endless selection of ✨gourmet junk foods✨, what candy bar are you grabbing?
I’d grab a few things: a Twix bar being my first choice with a Cow Tale (no, that’s not a typo), not far behind. I’d also probably sneak in a Diet Mountain Dew Code Red and Sour Patch Kids because why not? Road trip calories do not count.
Anyway, this cake was thought of recently when I was standing in line at the grocery store and saw a Twix and just had to have it. I rarely act on those junk food impulses, but I did that day. And it was the best candy bar I’ve ever had.

After my moment of temporary, chocolate-fueled bliss, I knew it would be in everyone’s best interest to transform that signature Twix flavor into a cake. I took bits and pieces of several recipes - some that are mine and some that aren’t - and combined them into my own cake.
Alas, here we have it!
The Elements
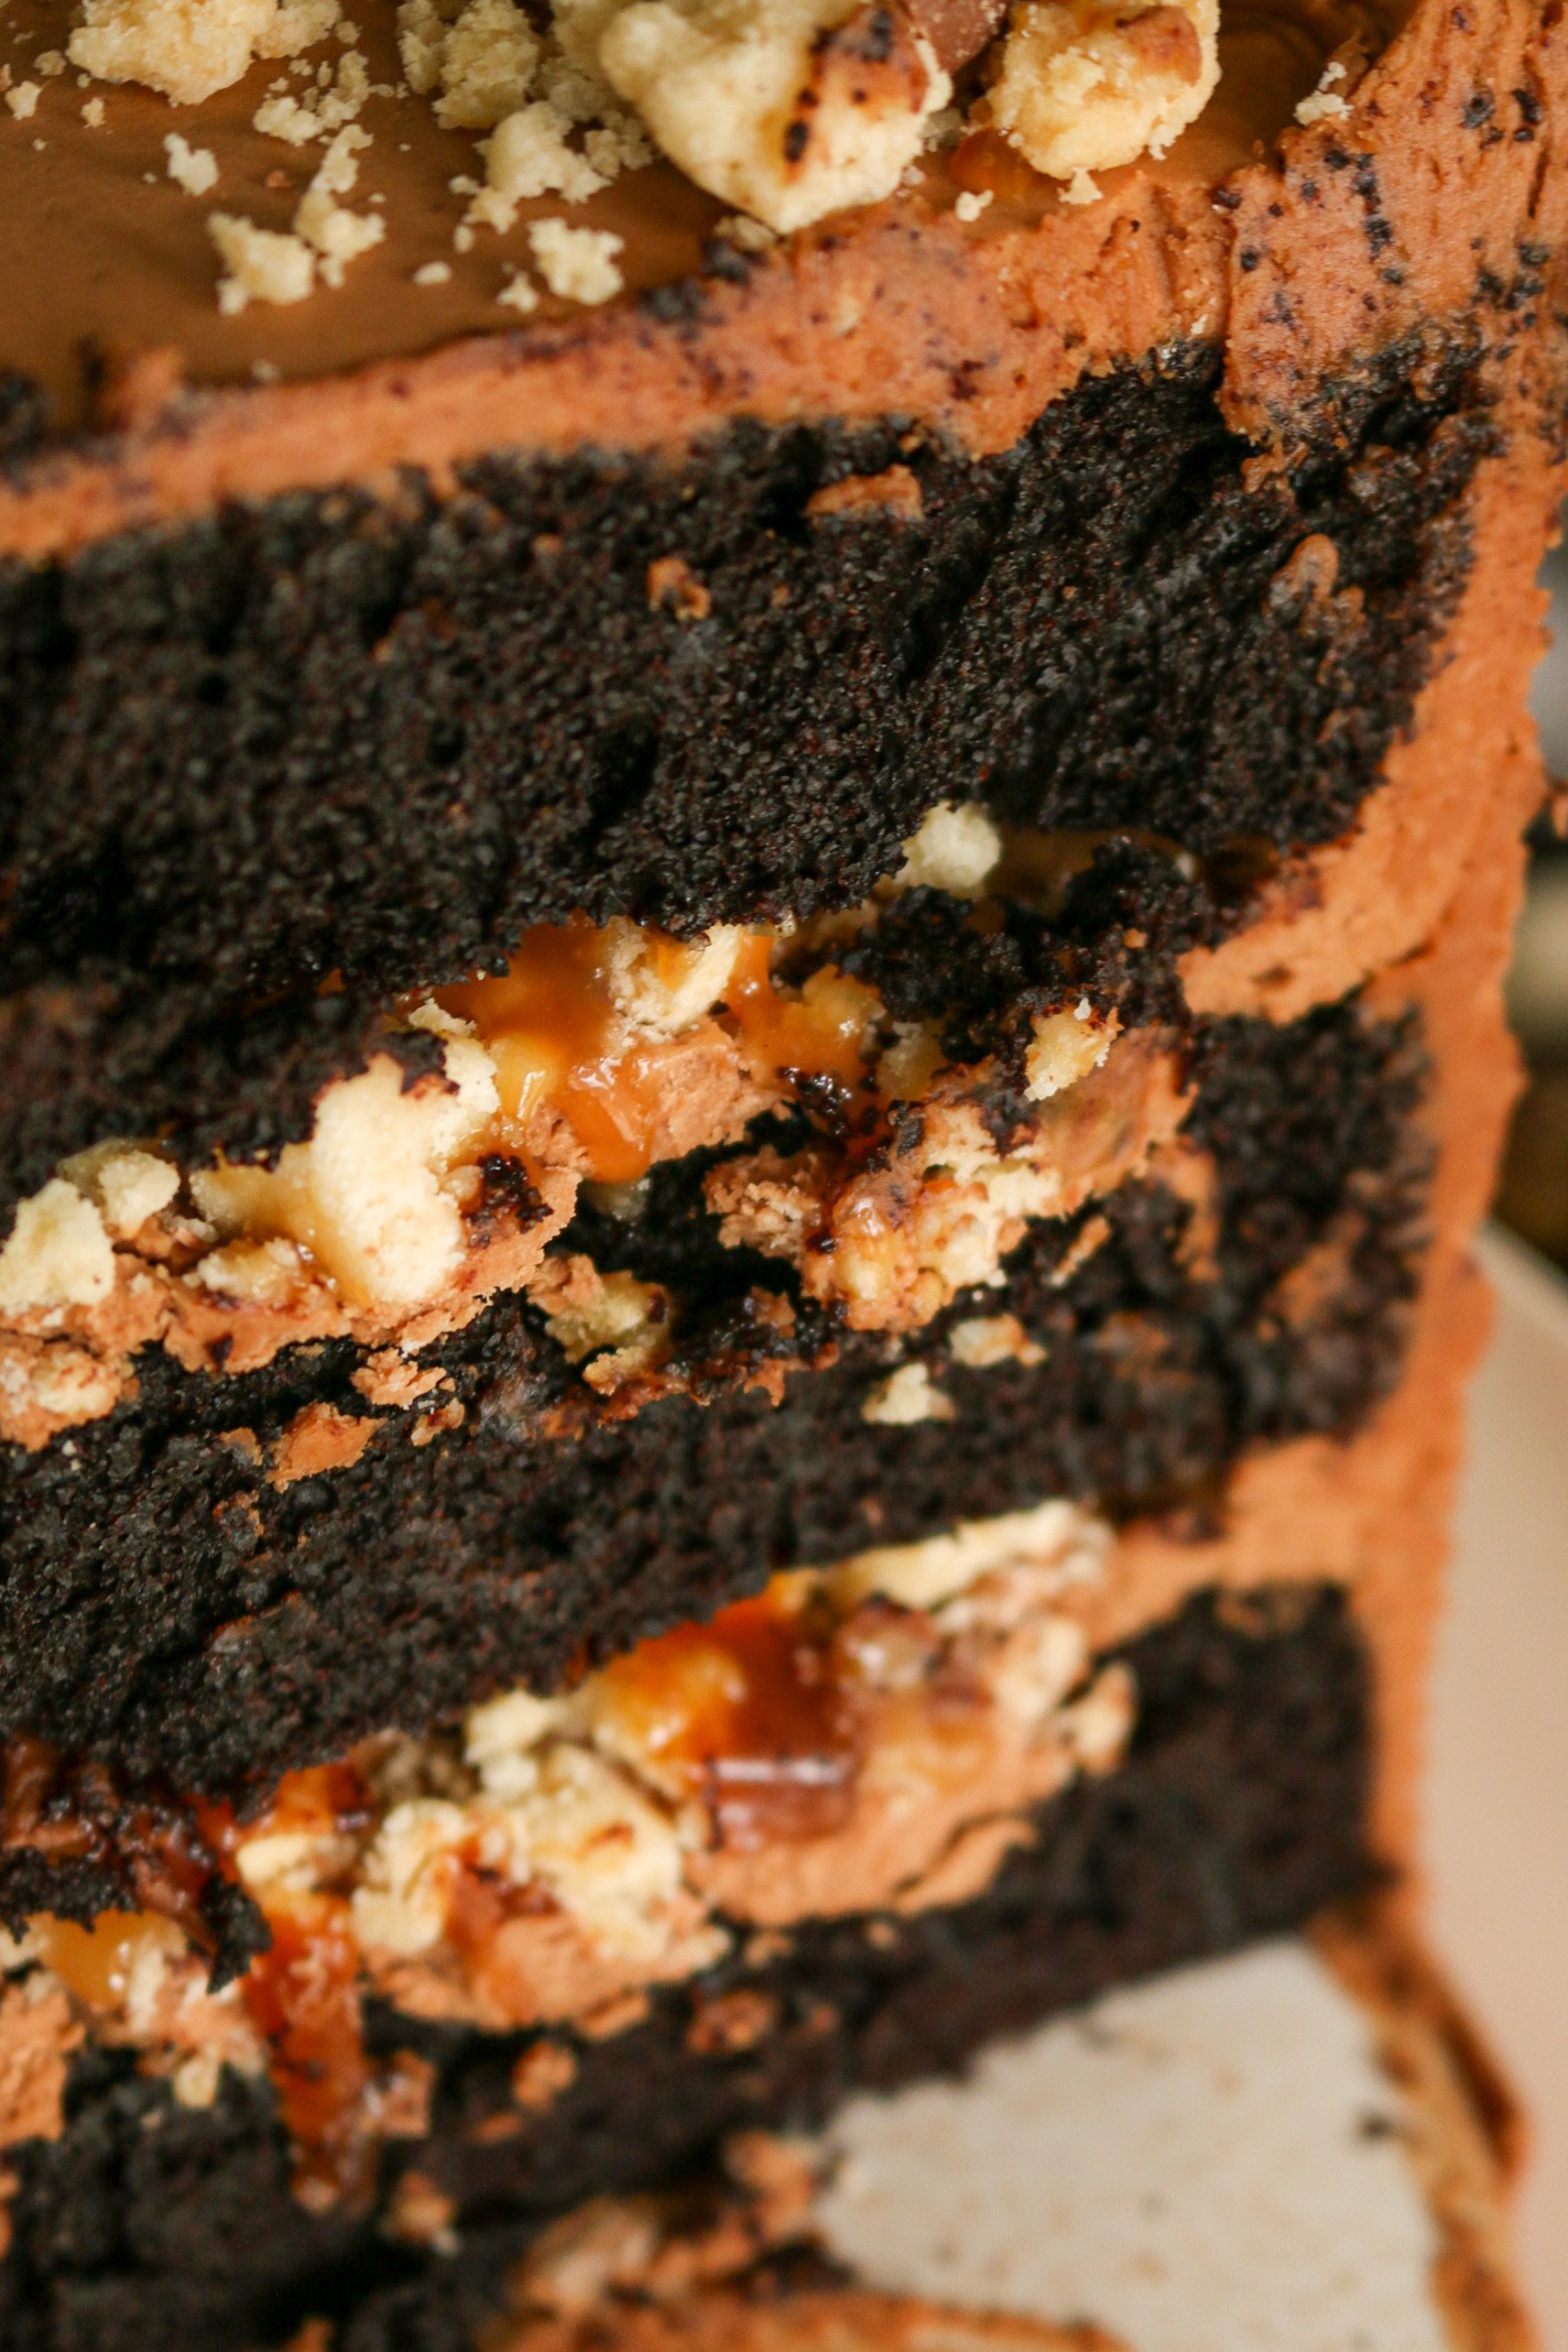
My signature dark chocolate cake layers soaked in homemade caramel
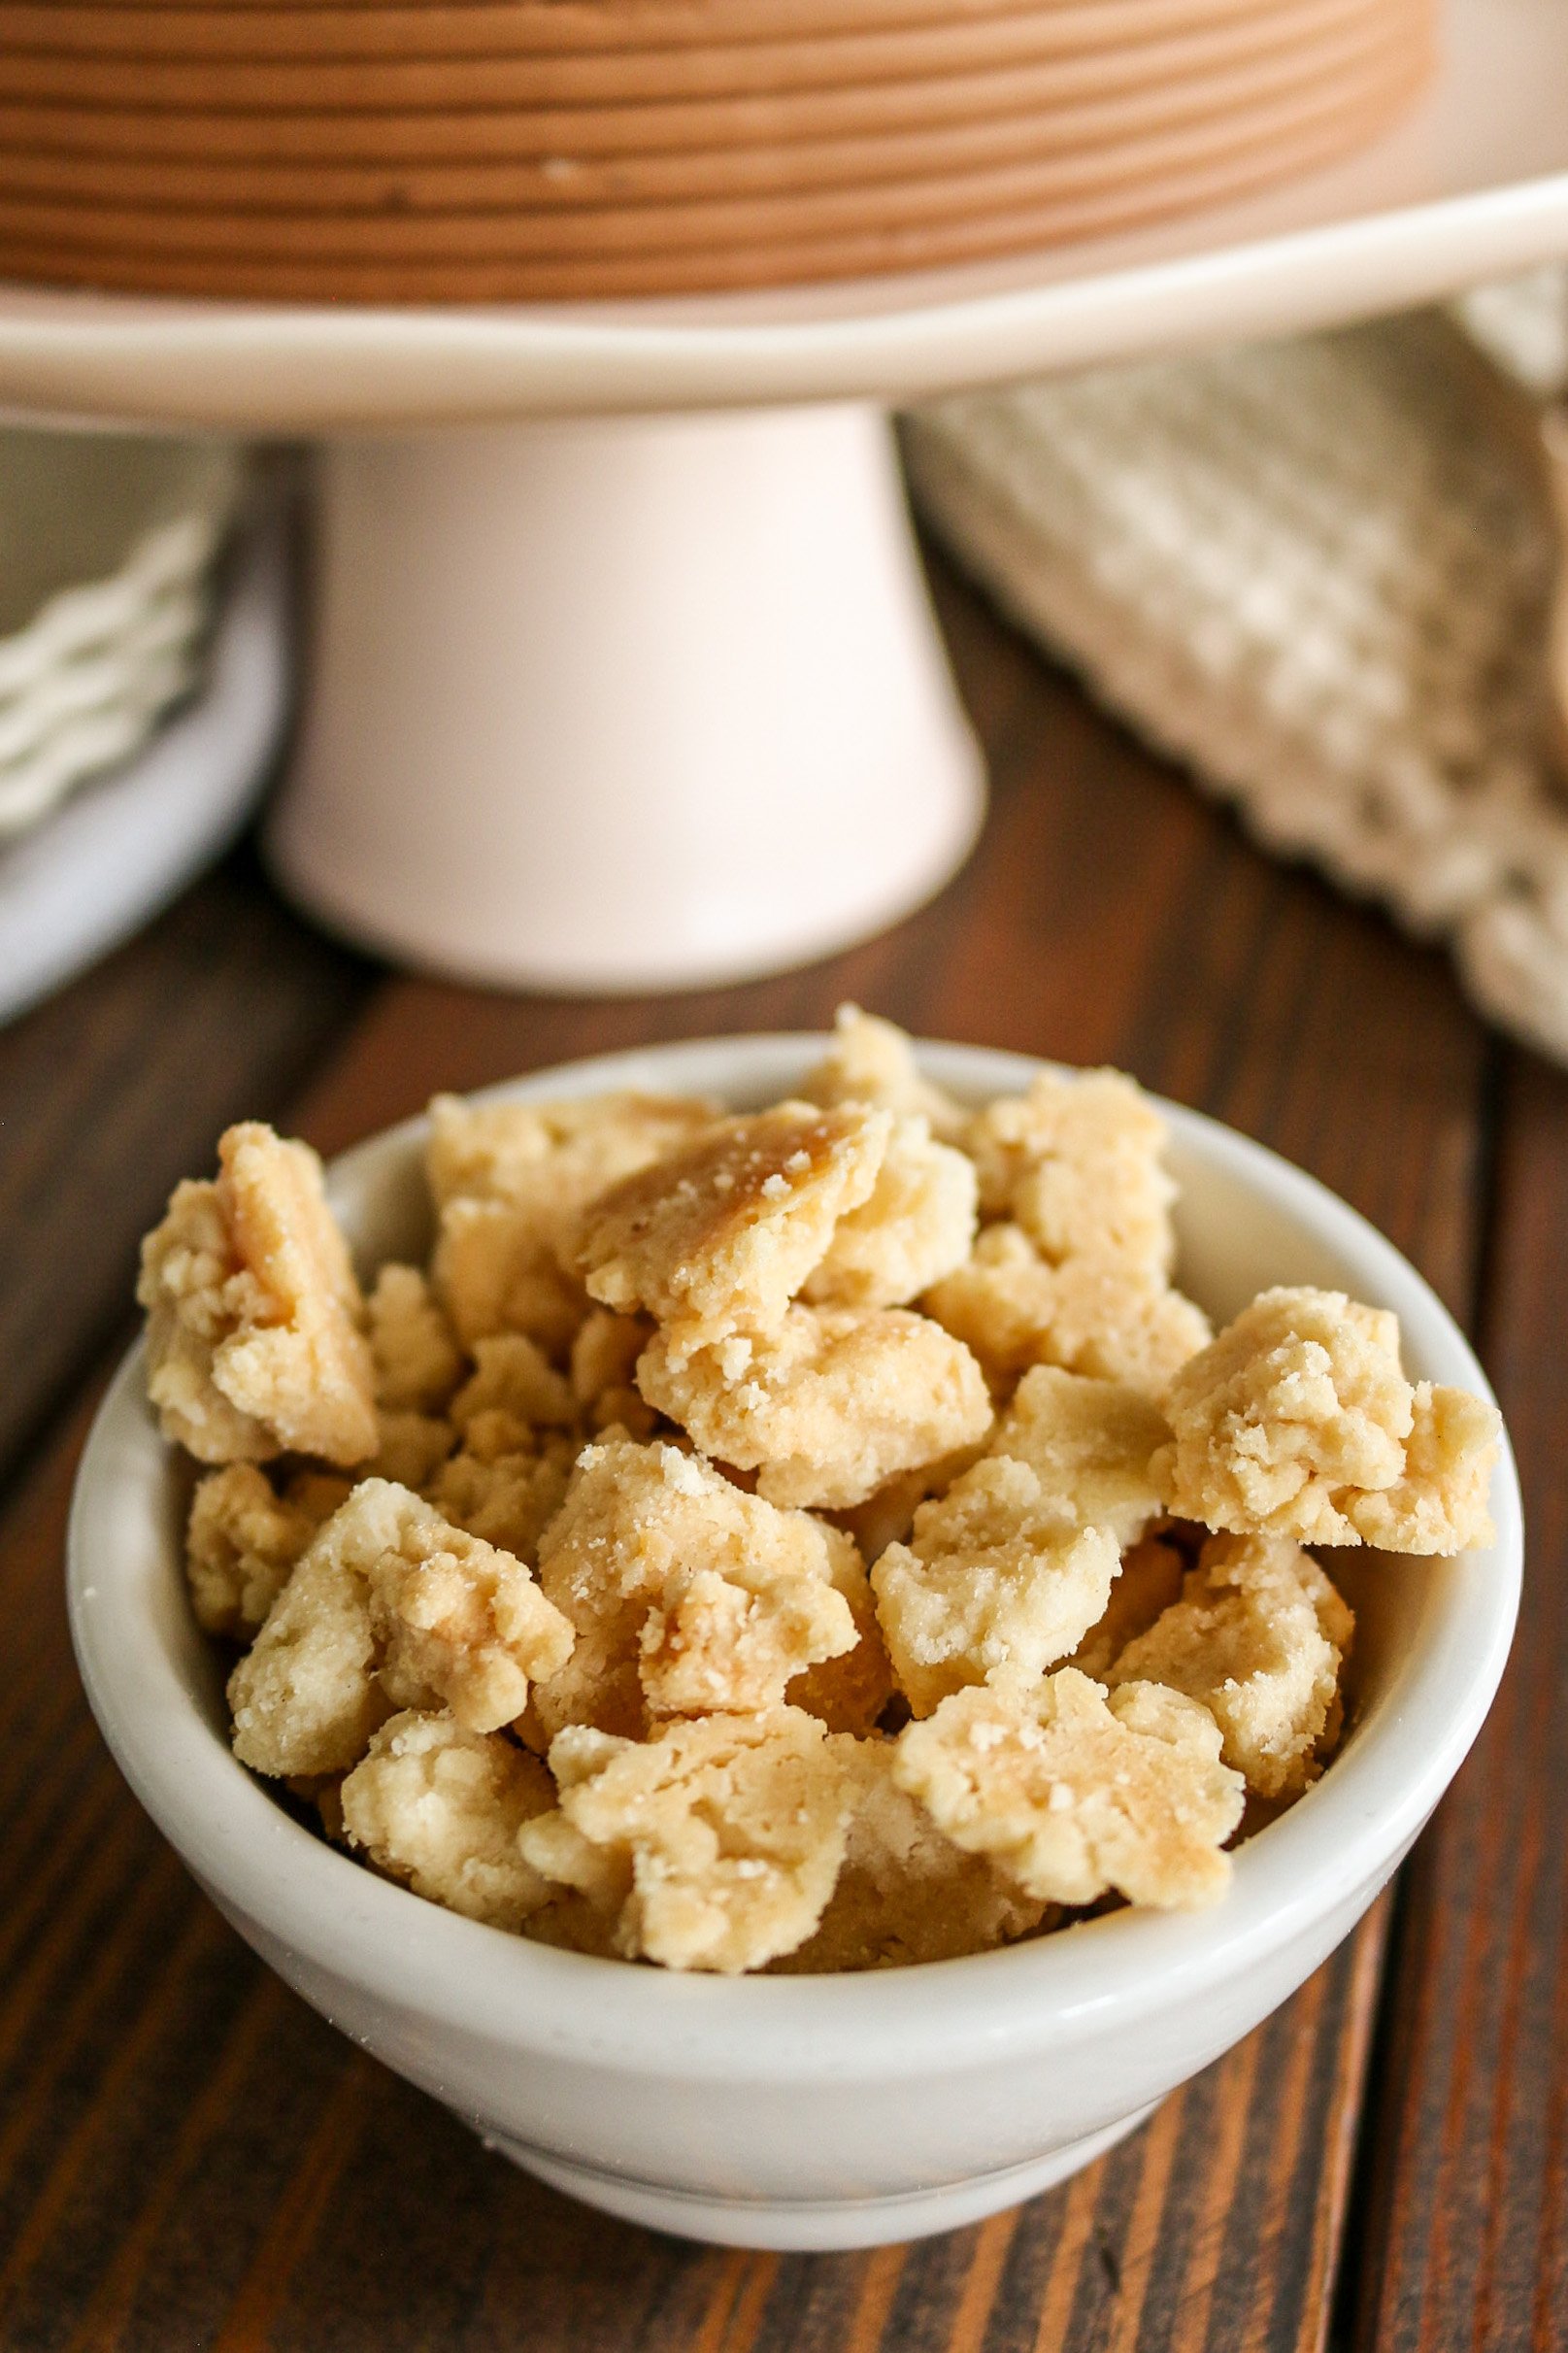
Shortbread cookie crumbs made from a super simple combination of butter, sugar, and flour
Chopped Twix bars
Homemade salted caramel
Caramel chocolate buttercream

A Note About Photos
There are many different hobbies I enjoy aside from cakes. I dabble very lightly in photography. I picked it up in highschool with my mom’s camera and have slowly upgraded equipment over the years.
A few of you have inquired about my photos, so here are the basics:
Currently I shoot with a Canon 70D and my go to lens is the nifty fifty. Occasionally I’ll use a micro lens (24 mm) when I want to really capture the smaller details of a cake (think caramel oozing from in between two cake layers).
I use a large diffuser to soften any harsh light that may accompany a mid-day photoshoot.
I only use artificial light when absolutely necessary (let’s be honest, I avoid it most of the time).
I shoot in the foyer of my home where the natural light pours in.
I have loads of props that I’ve slowly collected from antique stores, second-hand shops, Mercari, Target, etc.

It’s all for fun but I enjoy doing it. After following some of my favorite food bloggers over the last few years, I felt inspired to start styling and shooting my own photos before I ever launched Homemade by Celena.
When I first began shooting my cakes, a ton of my photos were over exposed, lacked definition and depth, and were over edited - like the photo below. To combat this, I thought I needed more light - WRONG. I bought a few stand lights and thought the less shadows I had in my photos, the better - again, very wrong.

One of my first cake photoshoots, March 2021
With each cake, there’s not only a chance to improve baking skills and decorating skills, but photography skills as well.
Sometimes my schedule doesn’t line up with Mother Nature’s natural light which I prefer to use, so the Twix cake was shot over the course of two days (initial photos were taken in late afternoon light, while the later photos were taken in cloudy morning light).

So, that’s my photography strategy in a nutshell. I hope you enjoyed reading a little bit more about behind the scenes!
Enjoy friends!
PS - do you think there’s a difference between the left Twix and the right Twix? I’ve done minimal Googling, but I’m on the fence!